
Last updated November 4, 2026
 Wrought iron
 Wood & steel frame
 Farm & ranch
 Sliding driveway gates
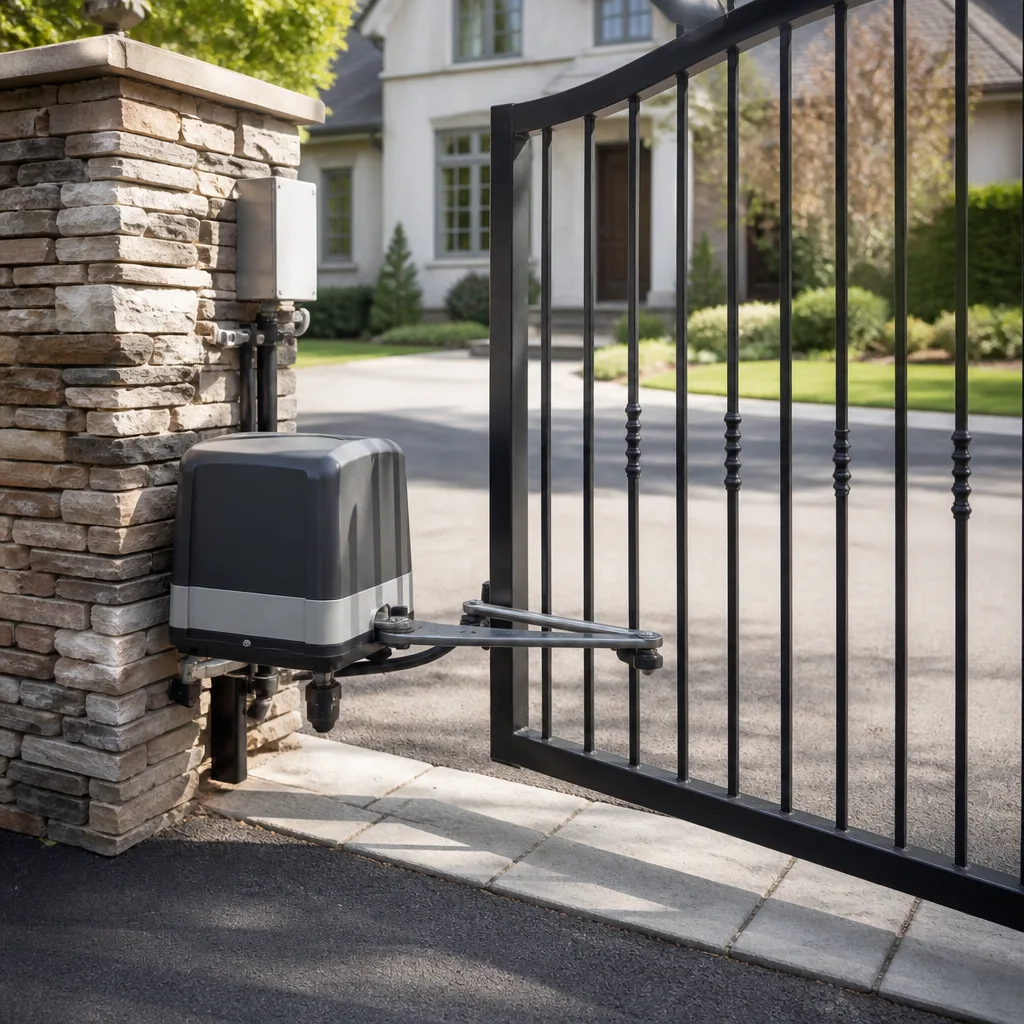 LiftMaster operators
Free on-site gate assessment - hinges, posts, and your LiftMaster or Nice gate operator checked before anything is quoted
The assessment is free and the quote is the invoice.
Get your free estimateDIY vs Professional Gate Repair: The San Jose Homeowner’s Decision Guide
Most homeowners assume the DIY-versus-professional decision comes down to skill: are you handy enough to fix a gate? That’s the wrong frame. The real dividing line is which component has failed. The same person who can safely replace a worn hinge and re-align a latch has no business opening an operator control board to adjust a safety reversal setting without a force gauge. And in San Jose, where automated driveway gates sit on hillside lots in neighborhoods like Almaden Valley and Silver Creek, that distinction matters more than the average weekend project. Get the mechanical side wrong and you have a gate that sticks. Get the safety circuit wrong and you have an entrapment hazard that your homeowner’s insurance may not cover. This guide walks through exactly which tasks you can handle, which ones you should not, what professional tools actually cost, and how to split the work sensibly with a contractor.
Quick Answer
DIY gate repair in San Jose is practical and safe for mechanical, non-powered tasks: cleaning photo-eyes, lubricating hinges, tightening loose hardware, and reprogramming remotes from the manufacturer’s manual. Professional repair becomes necessary when the failure involves the operator, control board, limit switches, safety reversal system, or any wiring connected to line voltage. On those components, a botched DIY fix creates an entrapment risk under UL 325 and can void both your operator warranty and your insurance coverage. The honest answer: handle the manual hardware yourself, but bring in an electric gate specialist for anything that moves the gate under power.
Styles & brands we work with
- Wrought iron
- Wood & steel frame
- Farm & ranch
- Sliding driveway gates
- LiftMaster operators
Table of Contents
- The Component-Level Matrix: What You Can Touch vs. What You Shouldn’t
- Why UL 325 Changes the DIY Math
- The Specialist Tools That Make DIY Operator Work Impractical
- The Real Cost Comparison: DIY vs. Professional, Line by Line
- The Hybrid Approach: Doing Prep Work Without Doing the Dangerous Work
- California Liability and the Insurance Gap Most Homeowners Miss
- How San Jose’s Lots and Gate Styles Affect Repair Decisions
- Common Mistakes to Avoid
The Component-Level Matrix: What You Can Touch vs. What You Shouldn’t
Every automated gate has two distinct systems stacked on top of each other. The mechanical system is the gate itself: hinges, wheels, track, latch, panels, posts. The electrical and automation system is the operator, control board, photo-eyes, safety edges, loop detectors, wiring, and limit switches. Most DIY advice online treats these as one category. They are not. A sliding driveway gate in Willow Glen that has come off its track is a fundamentally different repair than the same gate whose DoorKing operator has stopped responding to the remote. The first is bolts, rollers, and alignment. The second is control boards, wiring, and calibrated safety settings.
Here is the practical breakdown, based on what we see across San Jose properties:
Safe DIY Tasks (Mechanical and Low-Risk Electrical/Housekeeping)
- Lubricating hinges, rollers, and tracking wheels with a non-silicone, non-petroleum lubricant. This is regular maintenance on both swing and slide gates and requires no disassembly.
- Cleaning photo-eye lenses with a dry cloth. San Jose pollen and dust from the dry summer months coat sensors quickly. A dirty photo-eye is one of the most common causes of a gate that reverses or refuses to close.
- Tightening visible hardware: hinge bolts, wheel brackets, catch posts, and latch mounting screws. Carry a torque check on these twice a year.
- Reprogramming remotes from the manufacturer’s printed manual. Most Ghost Controls and Linear units have a learn-button sequence that does not require opening the main board enclosure.
- Clearing debris from the gate path, especially on slide gates where leaves, gravel, and small branches jam the rollers.
Professional-Only Tasks (Electrical, Automated, and Safety-Critical)
- Operator replacement or motor service. The motor is wired to the control board, and the board must be reprogrammed to match the new operator’s torque and run profile.
- Limit switch adjustment or replacement. The limit switch dictates how far the gate travels. Set it wrong and the gate slams into the stop post or fails to close securely.
- Safety reversal testing and calibration. This is not a “push and see” adjustment. UL 325 requires a measured entrapment force test using a specific gauge.
- Control board replacement or repair. Boards on Viking, FAAC, and BFT units are brand-specific, with proprietary connectors and protocol settings. A generic board from a supply store is not a drop-in replacement.
- Any wiring repair inside the operator enclosure or conduit run. This is line-voltage work. Done incorrectly, it also corrupts the low-voltage safety circuit.
- Loop detector diagnosis and replacement on slide gates that open for vehicles automatically.
The line is clear: unpowered mechanical adjustments are your territory. Anything powered, calibrated, or wired is ours. A useful way to remember it: if the part moves because you push it, you can often fix it. If the part moves because a motor moves it, call an electric gate repair specialist.
Why UL 325 Changes the DIY Math
UL 325 is the national safety standard for automatic gate operators. It exists because automatic gates have killed people, and the mechanism is almost always the same: the gate closes on someone and does not reverse with enough force or speed to prevent injury. To comply with the standard, every automatic gate operator must pass an entrapment force test. That test measures the exact pressure the gate applies when it contacts an obstruction, using a calibrated force gauge that reads in pounds. The measurement is recorded and compared against the maximum allowed for the gate’s size and travel speed.
Here is what that means for a San Jose homeowner with a screwdriver and a YouTube video. When you adjust the sensitivity or force dial on an operator without a force gauge, you are guessing. The gate might “feel” softer to your hand, but the hand is a terrible force sensor. A reading that is 15 pounds over the UL 325 threshold might not register to you at all, and 15 pounds is the difference between a gate that bounces back and a gate that pins a child against a post. Worse, if you have adjusted that setting yourself and someone is injured, the liability is yours. The manufacturer’s certification is voided. The gate is no longer compliant with the standard. And your homeowner’s insurance policy, which assumes the gate was installed and maintained to code, has a clear basis for denying the claim.
This is not gatekeeping. It is the specific reason professional electric gate work exists. We carry a force gauge because UL 325 requires the test to be measured, not estimated. We calibrate reverse sensitivity on Ghost Controls units and heavy Viking operators the same way: with a gauge, in pounds, against the published limit for that gate. A homeowner cannot replicate that accurately, and honestly, no one should try.
The Specialist Tools That Make DIY Operator Work Impractical
A compelling argument for DIY is that most trades only need tools you can buy. Carpentry needs a saw. Plumbing needs a wrench. But professional gate operator work requires three specific tools that are not on the shelf at a San Jose hardware store, and their combined cost quickly exceeds what a repair call would have cost.
- UL 325 force gauge. A compliant gauge starts in the low hundreds of dollars for a basic model and goes up from there. You need it to set and verify entrapment protection after any sensitivity adjustment. Without it, any force setting change is non-compliant by definition.
- Loop detector tester. Slide gates that open automatically for a vehicle use an inductive loop cut into the driveway. A loop detector tester confirms the detector’s frequency and sensitivity are within spec. Diagnosing a gate that won’t hold open for a car without this tool is trial-and-error replacement, which gets expensive fast.
- Brand-specific programming interfaces. Each operator brand has its own board architecture and setup menu. DoorKing boards are not programmed like BFT boards. Linear operators use different limit-setting procedures than Viking. A generic “gate guy” knows the common patterns. A gate repair specialist who works on multiple brands daily knows the per-brand quirks: which BFT board revision has the cold-solder issue, which DoorKing limit switch batch drifts after two years, which Ghost Controls remote pairing sequence fails if the photo-eye is blocked. That experience is a tool as much as any gauge.
We work on all of those brands and more, and the advantage is not that we have a secret manual. The advantage is that we have seen a hundred Linear operators in service across San Jose and can recognize within minutes whether the fault is the board, the limit assembly, or the motor capacitor, without replacing parts on a guess. Diagnosed, not guessed.
The Real Cost Comparison: DIY vs. Professional, Line by Line
Let’s be honest about money, because the DIY pitch often starts with saving it. On the right jobs, DIY genuinely saves you money, and you should do those jobs yourself. On the wrong jobs, DIY costs more than the professional repair would have, once you account for the parts you replace unnecessarily and the damage from an incorrect repair.
Here is how that breaks down across the common repairs we see in San Jose:
Where DIY Saves Money (and You Should Do It)
- Hinge lubrication: A tube of the right lubricant runs $12 to $20. A service call to lubricate hinges in San Jose would be inefficient for you and for us. Do this yourself twice a year.
- Photo-eye cleaning: A dry cloth costs nothing. A no-charge task that prevents many “gate won’t close” calls.
- Hardware tightening: A socket set most homeowners already own. Straightforward, and doing it at regular intervals catches problems before they become repairs.
- Remote reprogramming: The manual is in your drawer, or a PDF is two minutes away. If you have the original remote and the learn button, this is a ten-minute job.
Where DIY Costs More Than Professional
- Control board replacement: The DIYer replaces a $250 to $600 board on a guess. The gate still doesn’t work because the issue was a bad limit switch or a grounded wire. The professional charged a diagnostic fee and replaced the actual fault for $180 to $400 in parts and labor. The DIYer has now spent more and still has a broken gate.
- Sensitivity adjustment: The DIYer sets the force too high trying to fix a gate that drags, instead of fixing the dragging hinge. The gate now closes on a car and damages the panel. The motor burns out from the added resistance. A hinge repair would have been $150 to $300. The motor is now $700 to $1,500.
- Wiring repair: The DIYer splices a low-voltage safety wire with electrical tape. Water gets in. The gate faults intermittently for weeks before failing outright. The original wire might have been a $120 repair. The corrosion chase and board damage is now $500 to $900.
Our rule of thumb in San Jose: if the repair involves parts that unbolt from the gate frame without touching any wire, it’s fair game for DIY. If the repair touches wiring, the operator, the board, or any calibration setting, the professional estimate will almost always be cheaper than the DIY attempt, once you count the parts you replace on guesses. And from the opener to the hinge, we quote the full scope up front, before any work starts.
The Hybrid Approach: Doing Prep Work Without Doing the Dangerous Work
You don’t have to choose between doing everything and doing nothing. The smartest San Jose homeowners we work with use a hybrid approach that splits the labor exactly where the risk line sits. They handle the prep, the cleanup, the observation, and the documentation. We handle the electrical, the automation, and the calibration.
Here is how to run a productive hybrid repair on a gate that is misbehaving:
- Document the failure in detail. Write down exactly when the gate fails: on open or close, first cycle of the morning or after rain, with the remote or the keypad, with a car on the loop or not. A specific symptom log saves us a diagnostic trip, and on a one-off maintenance visit, it saves you money on our time.
- Clear the gate path and working area. Remove the accumulated soil, leaves, and loose gravel from a slide gate’s track. Cut back plants that crowd a swing gate’s hinges or photo-eyes. San Jose’s summer months drop a lot of dry plant material, and a clear work area means our time goes into the repair, not the cleanup.
- Pull the permit, if one is required. Most simple repairs don’t require a city permit in San Jose, but some structural changes to pillars, posts, or the driveway loop do. If your project needs one, handling the paperwork yourself or with your contractor’s guidance keeps the project moving and keeps you informed about what’s happening on your own property.
- Handle the manual, non-powered tasks. If the gate has a sticking latch in addition to the operator fault, tell us. You can often manage the latch, the lubrication, and the hinge tightening while we focus on the board and the motor.
- Leave the enclosure closed. Do not pre-open the operator housing, disconnect any wires, or “get things ready” inside the electrical compartment. A closed enclosure tells us exactly what the last powered state was, and opening it yourself adds variables.
This approach respects the genuine financial benefit of sweat equity while recognizing that the safety calibration is not a hobby task. It also makes the professional visit shorter and more focused, which is what you want from any contractor in San Jose, where gate downtime at a hillside property with a steep driveway is a real access problem.
California Liability and the Insurance Gap Most Homeowners Miss
California does not have a single statewide permit rule for gate repairs, but it does have an unforgiving liability environment, and automated gates sit in the middle of it. If a gate on your San Jose property injures someone, the legal question is not whether you intended for the gate to be unsafe. The question is whether you maintained it to the applicable safety standard. Under California tort law, a property owner can be held liable for injuries caused by a dangerous condition on the property even if the owner did not create the condition. Unpermitted work, non-compliant modifications, and repairs made without following manufacturer specifications are all evidence of negligence.
Here is the insurance gap that most homeowners don’t discover until it’s too late. Your standard homeowners policy covers personal injury on the property, subject to exclusions. One of those standard exclusions is for injuries caused by conditions the homeowner knew about and failed to repair, or modifications the homeowner made that worsened the risk. A gate whose force setting was adjusted by the homeowner with no force gauge, no measurement, and no compliance test is a textbook example of a worsened risk. The insurer’s investigator, after an entrapment incident, will ask who last worked on the gate’s safety system. If the answer is “I did, with a screwdriver and a YouTube video,” the claim denial letter is almost guaranteed.
This is not an argument that homeowners should never touch anything. It is an argument that the safety and calibration layer of an automatic gate is fundamentally different from its mechanical layer. We work on Blossom Valley properties all year and the consistent pattern is that homeowners understand this distinction once it is explained in terms of their own liability. Before starting any gate project, check with the city of San Jose about permit requirements for structural work, and ask your insurance carrier directly if DIY modifications to a powered gate operator would affect your coverage. The answer may surprise you.
How San Jose’s Lots and Gate Styles Affect Repair Decisions
San Jose is not one housing market. It is a patchwork of neighborhoods built in different decades, with different lot shapes and different gate styles, and that variety changes which repairs make good DIY projects and which ones don’t. The houses in Blossom Valley and the eastern foothills often have longer driveway runs with slide gates, which are mechanized differently than the swing gates more common in older neighborhoods closer to downtown. A slide gate has wheels, a track, a receiver post, and a long, heavy panel. When that panel comes off its track, the repair is largely mechanical, but the weight of the panel is not anything a homeowner should be lifting alone.
San Jose’s climate also plays a role. We don’t get the freeze-thaw that cracks posts in colder states, and we don’t get coastal salt air eating through steel hardware. What we do get is a long dry season from roughly May through October that turns the surrounding hills brown and keeps a steady dust settling on everything, including photo-eye lenses and gate tracks. We also get brief, intense rain events in the winter that push sediment and leaf litter into slide gate tracks, where it packs into a gritty paste. The dust and the winter runoff are the two biggest environmental drivers of gate maintenance in San Jose, and both are manageable by homeowners. Blowing out a track and wiping photo-eyes once a month goes a long way here.
Hail is uncommon in San Jose, so impact damage to gates is not something most homeowners need to plan around. The more common weather-related failure is water ingress into an operator enclosure that was not sealed properly after a previous repair. That is a repair quality issue, not a weather forecasting issue, and it is another reason to use a technician who seals enclosures to the manufacturer’s spec.
The practical takeaway: if your San Jose gate is sliding and the issue is mechanical, you may be able to clean the track and re-seat the panel. If the issue is electrical, the specific operator brand matters. We have worked on everything from light-duty Ghost Controls units on residential swing gates to high-cycle Viking and DoorKing operators on commercial and multi-unit properties, and the diagnostic path is different for each. A brand-matched technician arrives already knowing which failure patterns to check first.
Common Mistakes to Avoid
- Adjusting the force or sensitivity dial without a gauge. A hand-push test tells you nothing about UL 325 compliance. A gate that feels “soft enough” can still exceed the entrapment force limit by a dangerous margin. If the gate is reversing on nothing, the fix is usually a photo-eye problem or a hinge issue, not a force adjustment.
- Replacing the control board as a first step. Boards die, but more often the board is fine and the fault is a limit switch, a grounded wire, or a bad capacitor. Replacing a board on a guess fails to fix the gate and adds hundreds in parts cost. Diagnosed, not guessed.
- Using automotive or general-purpose grease on gate hinges. Heavy grease attracts San Jose’s summer dust and turns into a lapping compound, accelerating wear on hinge pins and bushings. Use the lubricant recommended for your gate’s material and hardware.
- Removing the operator cover to “see what’s wrong.” A powered board is not an investigation site. Opening the enclosure with the power live is a shock hazard, and even with the power off, a disconnected wire or mis-seated plug adds a new variable to the diagnosis.
- Ignoring a gate that is noisier than it was. Noise is the earliest symptom of most mechanical failures on San Jose gates, especially slide gates with dry track wheels or swing gates with worn hinge bushings. Lubricating a noisy hinge this month is a $15 project. Replacing the hinge pin and the deformed bracket in six months is a $200 project, plus the possibility of the gate panel sagging.
- Skipping the permit check on structural work. If the repair involves new concrete for a post, or a new receiver post location, or any change to the driveway loop, the city of San Jose may require a permit. Call the building department before you dig or pour. The cost of the permit is small compared to the cost of unpermitted work discovered during a sale or after an injury.
- Treating all brands as interchangeable. A Viking operator and a Linear operator both move a gate, but their wiring and programming sequences differ. Parts are not universal. A brand-specific specialist or a careful match to the manufacturer’s replacement part list saves you from buying a board that won’t talk to your existing motor.
See the difference
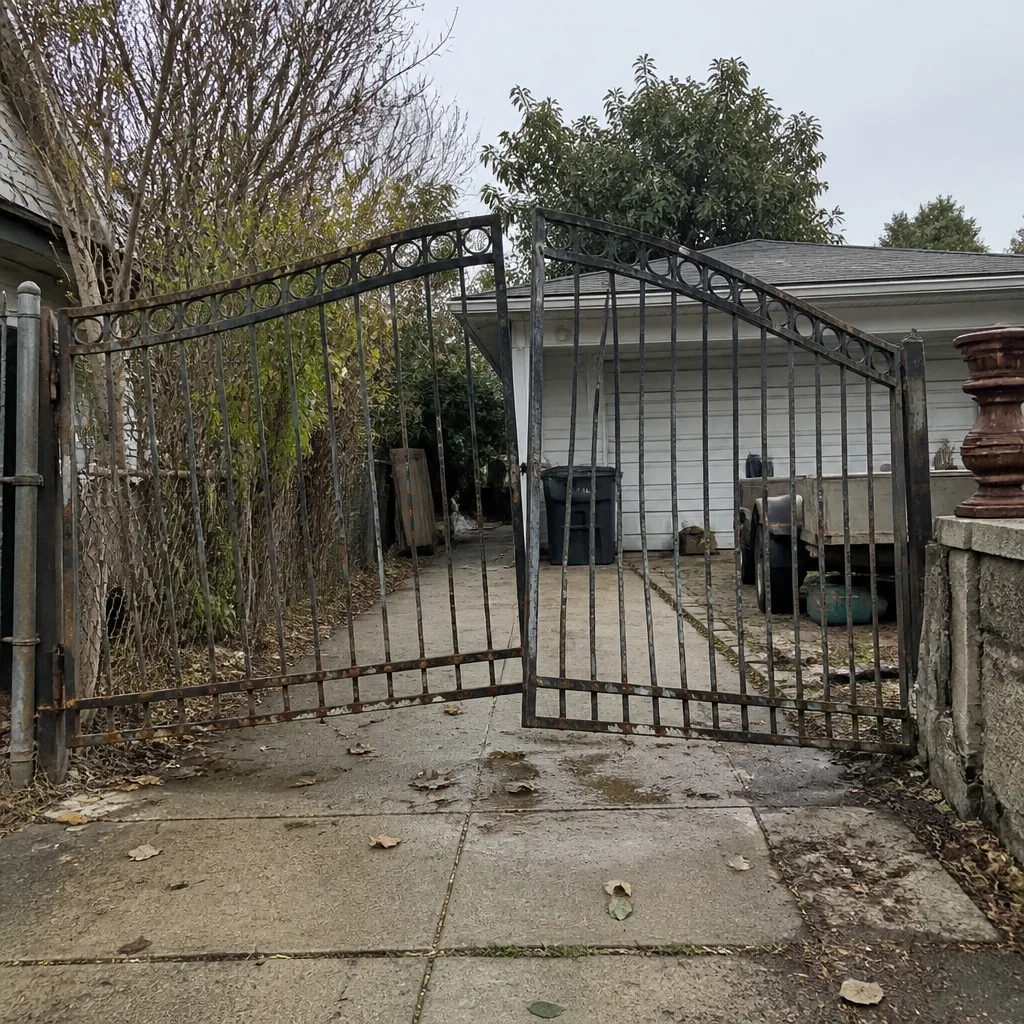 Before
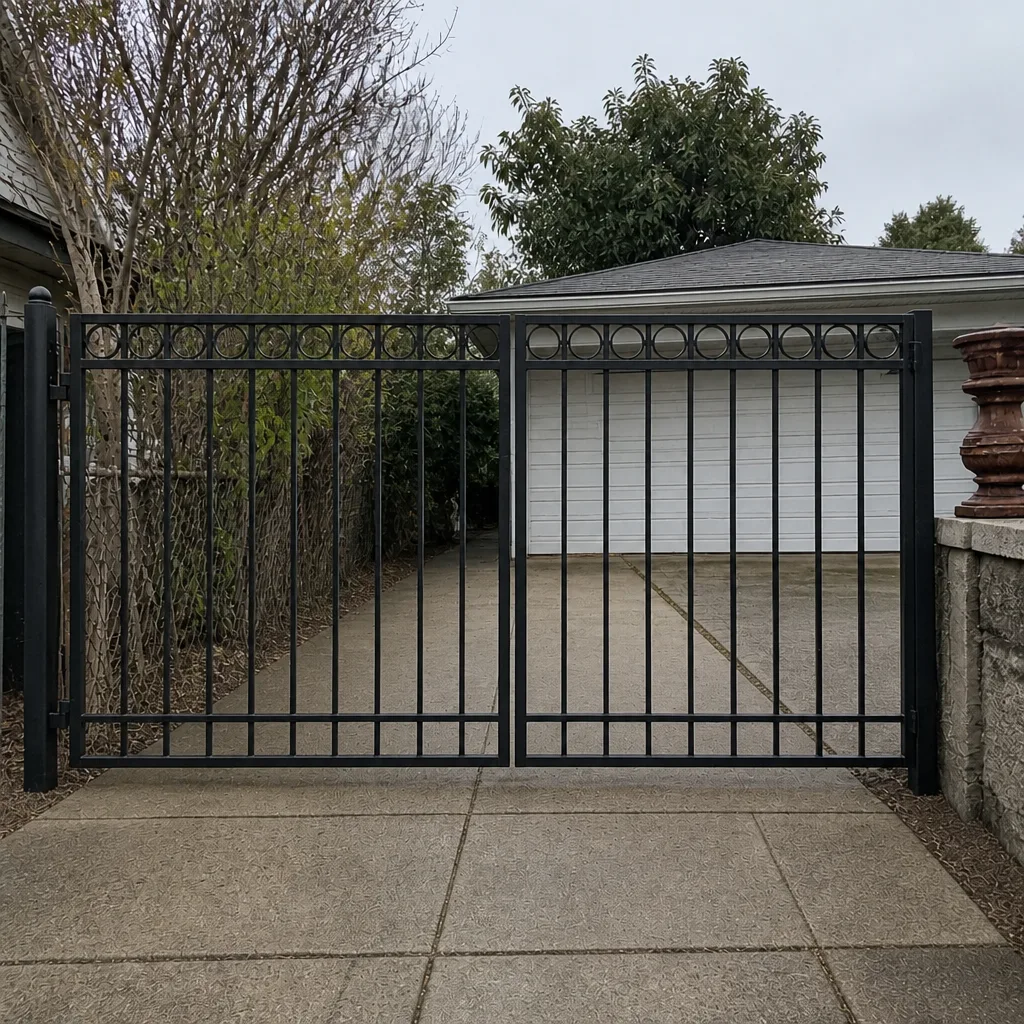 After
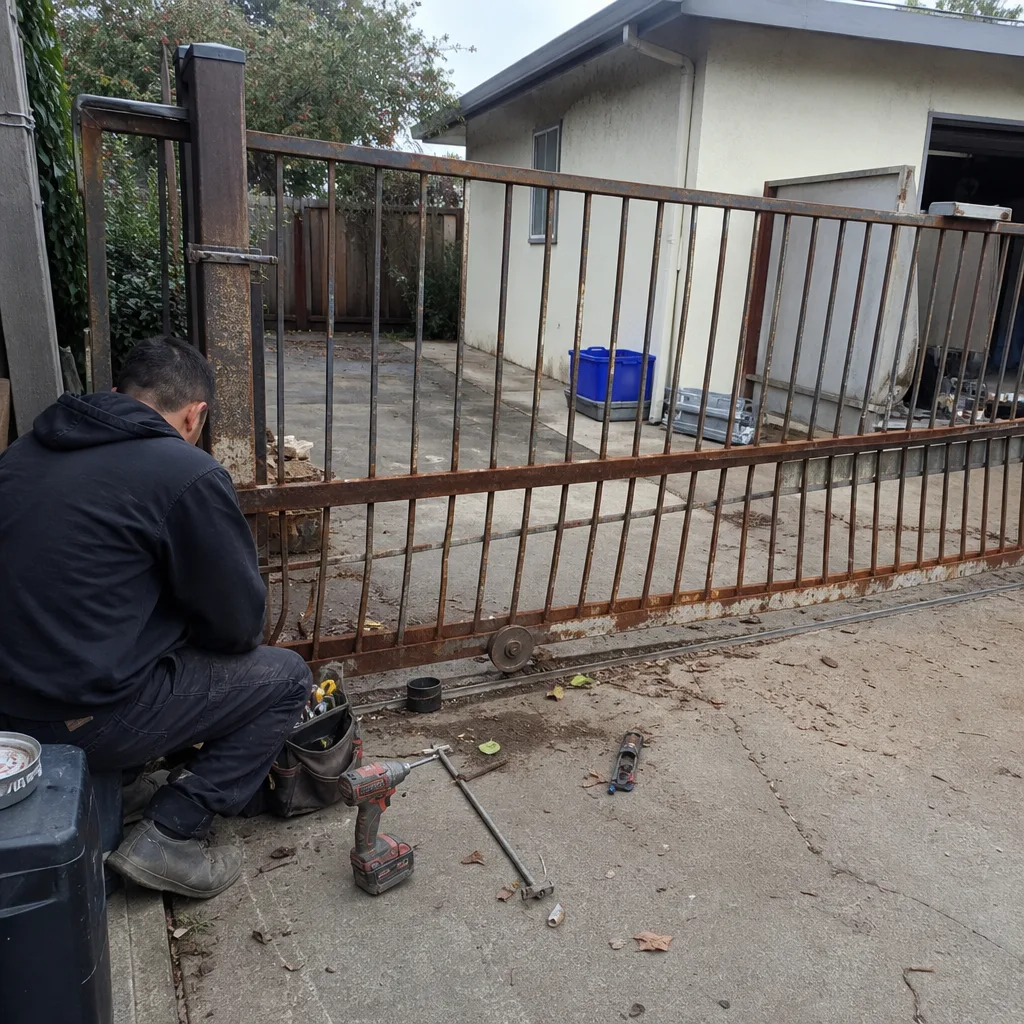 Before
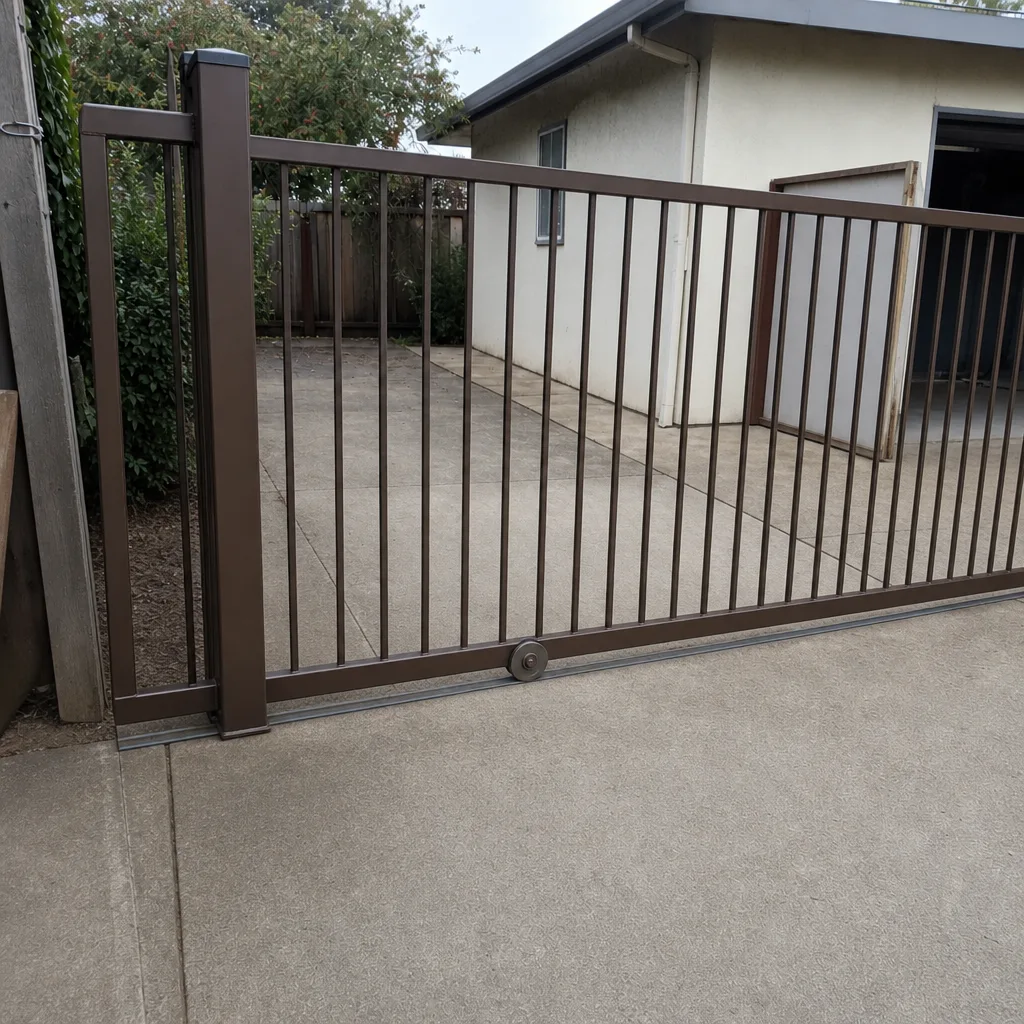 After
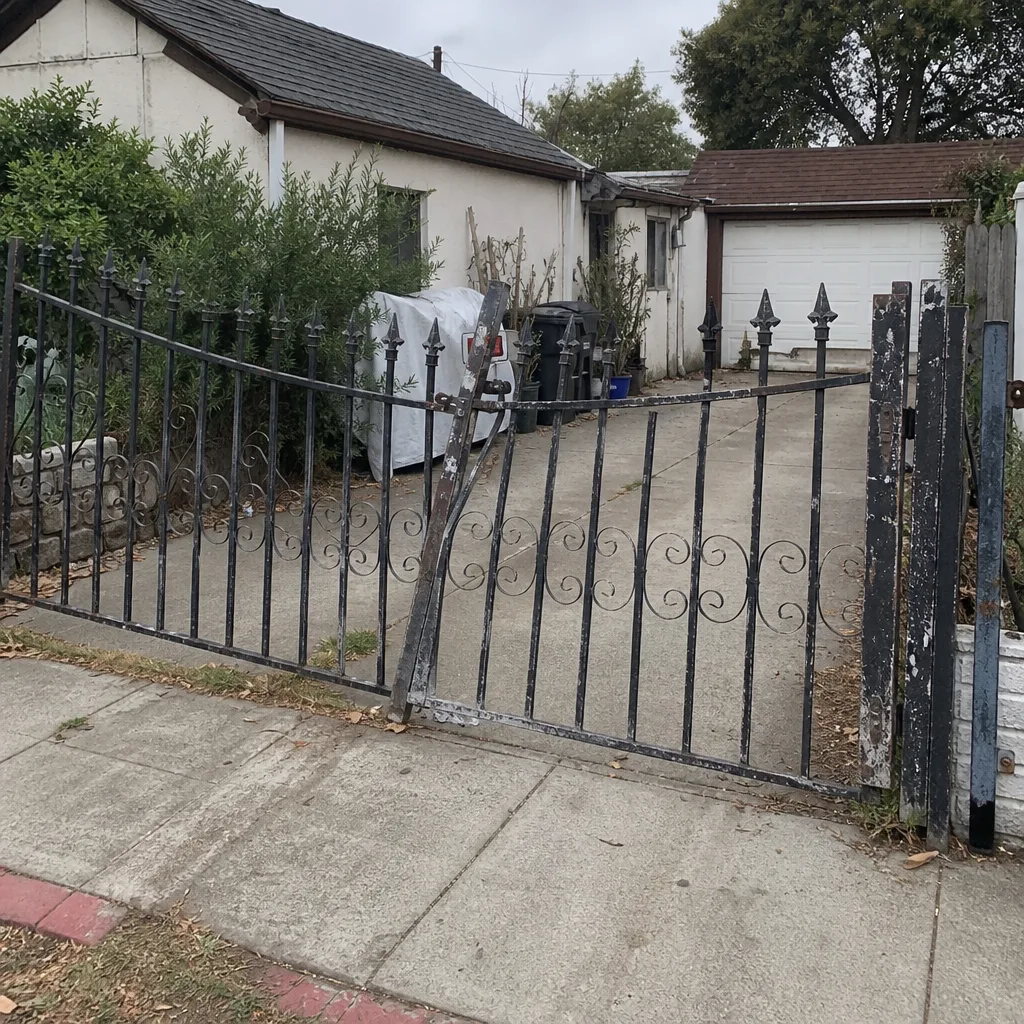 Before
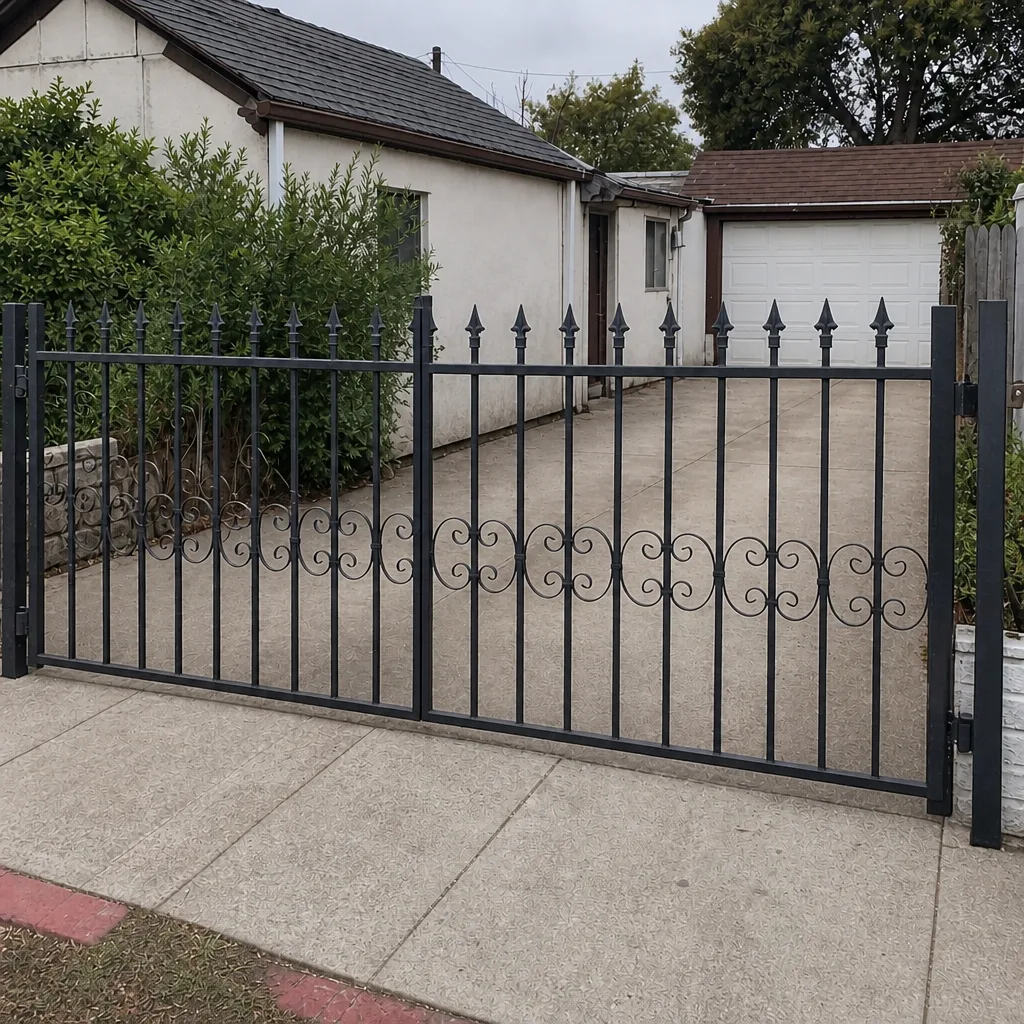 After
When to Call a Professional
Call a professional when the gate moves under power and the problem is not fixed by cleaning the photo-eyes, clearing the track, or changing the remote battery. More specifically, call when the gate has stopped responding to the operator entirely, when it reverses before reaching the closed position, when it does not stop at the correct open or closed limit, when it closes on vehicles, or when you hear a change in the motor’s sound that suggests mechanical drag on the operator. These are symptoms of electrical or calibration faults, and they are not DIY repairs. Call if the gate panel itself is off the track and heavy, because even a mechanical repair involving a sliding panel that weighs several hundred pounds is not a one-person job. Gate Repair Blossom Valley offers free estimates in San Jose – call (877) 358-4473. We answer 24/7. Fast dispatch from 7am to 7pm, Sunday through Friday.
Frequently Asked Questions
Yes, you can legally perform many repairs on your own gate, especially mechanical tasks like lubrication and hinge tightening. However, any modification to a powered operator’s safety system that leaves the gate non-compliant with UL 325 creates liability for you as the property owner. If structural work or new concrete is involved, check with the San Jose building department about permit requirements before starting.
Manual latch adjustments, hinge and track lubrication, photo-eye cleaning, hardware tightening, and remote reprogramming from the manufacturer’s manual are all reasonable DIY tasks. These do not involve opening the operator enclosure, touching wiring, or changing any safety calibration. The mechanical layer of the gate is yours to maintain.
Never attempt operator replacement, control board replacement, limit switch adjustment, safety reversal calibration, loop detector replacement, or any wiring repair inside the operator enclosure. These tasks require a UL 325 force gauge, brand-specific programming knowledge, and training on low-voltage and line-voltage circuits. An incorrect repair here creates an entrapment hazard on your property.
Most repairs fall into a range of $150 to $1,500 depending on the component, the brand, and whether parts are replaced or rebuilt. A hinge repair or photo-eye replacement runs at the lower end, while a control board or operator replacement runs at the upper end. The estimate is free and the written price is fixed before work starts, per job.
Not necessarily. If an entrapment injury occurs on a gate whose safety settings were adjusted by the homeowner outside of UL 325 compliance, the insurer has a strong basis to deny the claim. The policy typically excludes injuries caused by known dangerous conditions or unpermitted modifications that worsened the risk. Ask your insurer directly before doing any powered-system work yourself.
We install brand-matched parts that we have specified for your particular operator, and we don’t install customer-supplied parts whose provenance or compatibility we can’t verify. The reason is that a mismatched or counterfeit board can damage the operator and leave the safety circuit non-compliant. If you want to compare parts pricing, ask us for the part number and we’ll quote the repair with the correct component.
Most likely yes. We work across the major operator platforms in San Jose, including Linear, Viking, Ghost Controls, and DoorKing, along with several others. The benefit of that breadth is that we diagnose your specific brand’s failure patterns quickly rather than learning your system on your clock. Call (877) 358-4473 and tell us the brand and the symptom, and we’ll tell you honestly if we can help.
The Bottom Line
The DIY-versus-professional question for gate repair is not a test of your handiness. It is a question about which part of the gate has failed. San Jose homeowners can and should handle the mechanical maintenance: the lubrication, the cleaning, the tightening, the remote learning. When the failure moves into the operator, the board, the wiring, or the safety circuit, the work requires tools, testing, and liability management that homeowners are not equipped to take on. A mistuned force setting is not a small mistake; it is an entrapment hazard that can cost more in liability than the gate itself. The smart approach is hybrid: you handle what you can, document what you see, and call an electric gate specialist for the calibrated, powered, safety-critical layer. That keeps you capable without making you liable.
Written by the team at Gate Repair Blossom Valley, serving San Jose since 2015.